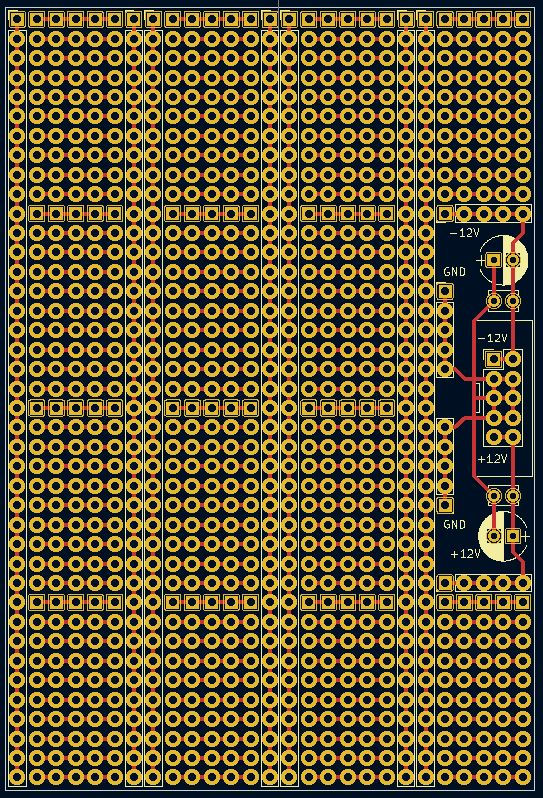
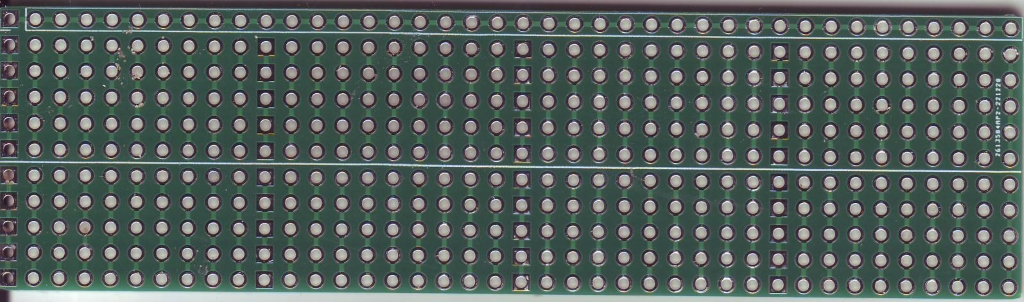
 | Kicad rendering of my main Eurorack prototype stripboard.
|
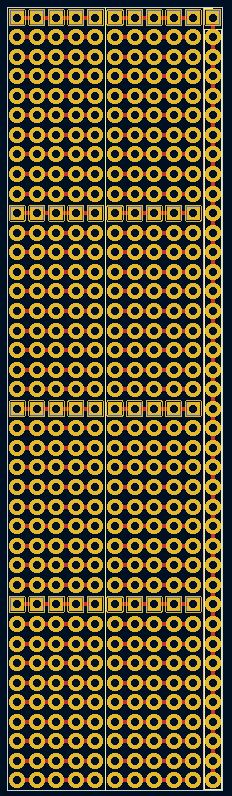 | This is a secondary board that can be used alone, or as a control board
with the main prototype board. |
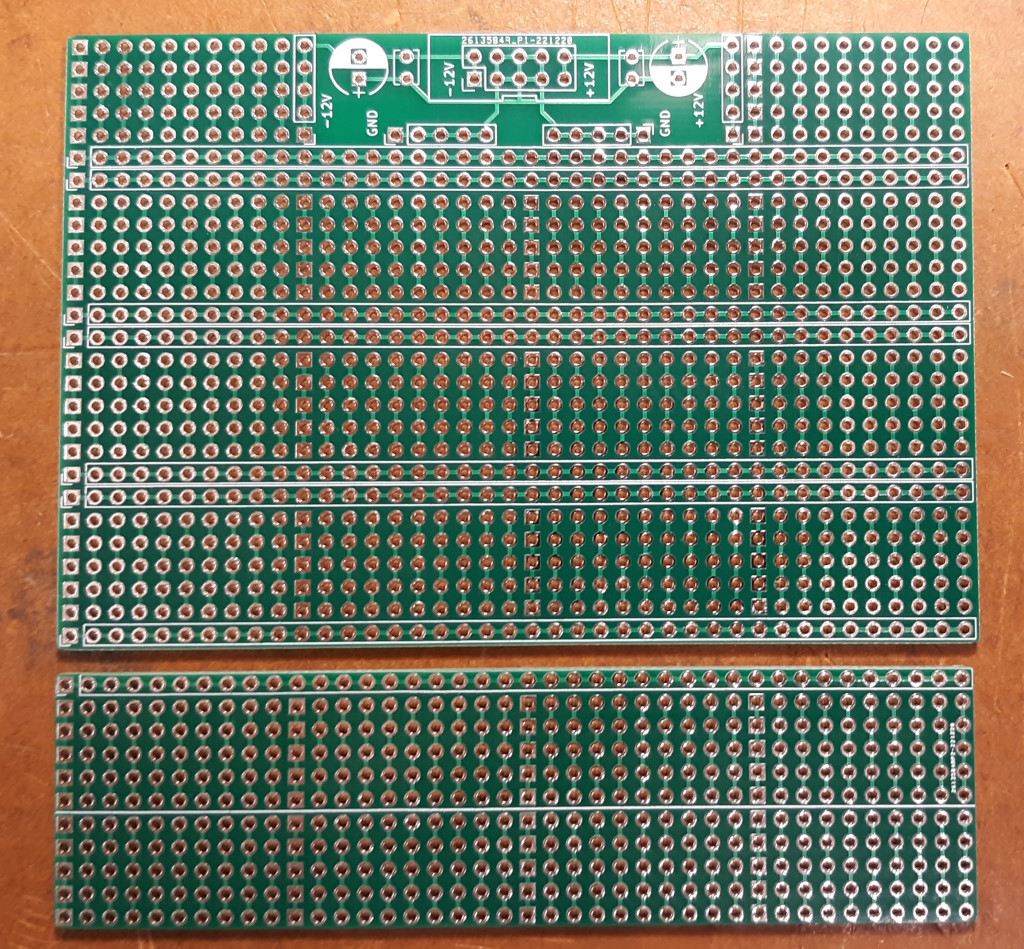 | The
boards. Current run was made in China by JLCPCB, using lead free HASL
plating. Holes are roughly .04" Some pots and jacks have larger ground
lugs and won't fit so measure first. |
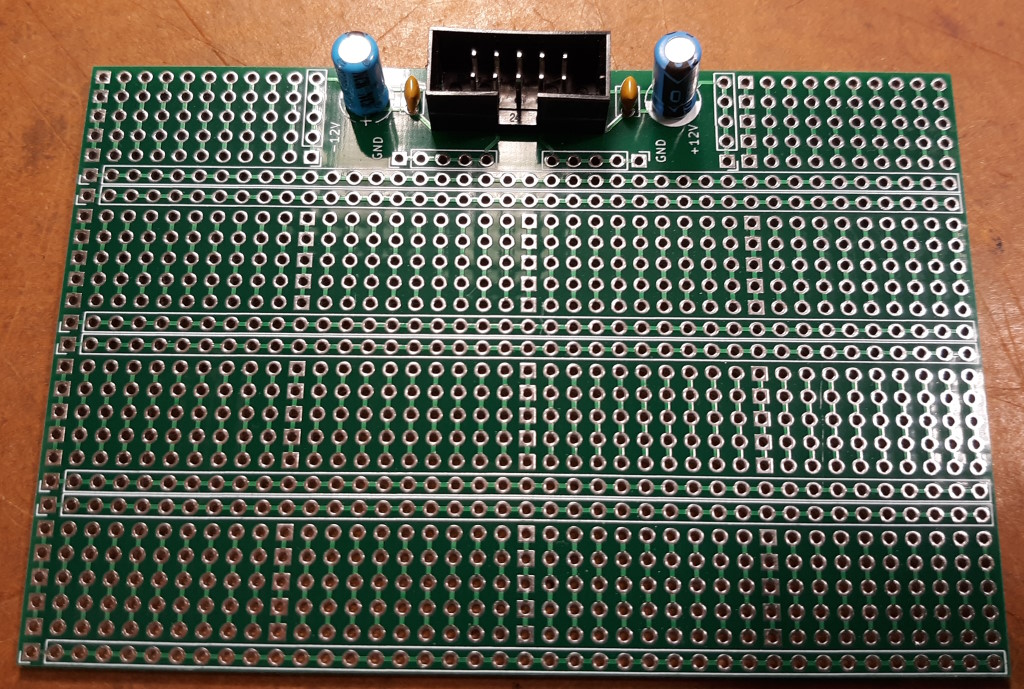
 | Design
is simple. Power section with parallel caps to ground for filtering as
desired. Power broken out to 5 hole sections. Further resistors/ferrite
beads/diodes can be used to bridge to rails as needed. Horizontal
strips can be used for power or ground. ICs/sockets fit neatly over .1
pitch strips.
5 hole vertical strips for components. |
 | Small board is similar |
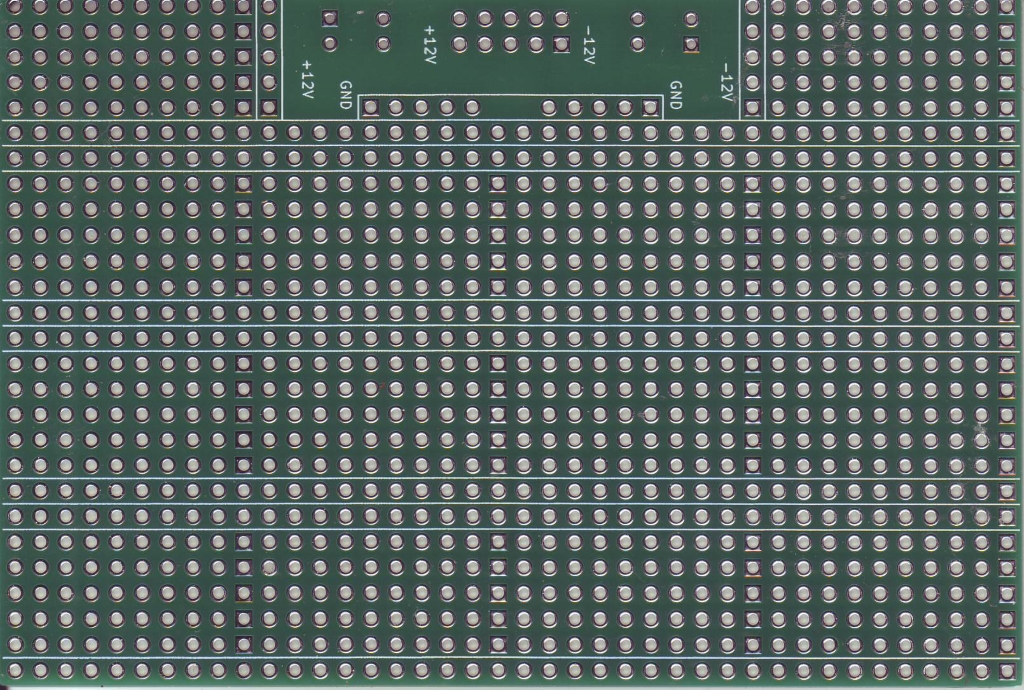
 | An example of a power section. No components included with boards. |
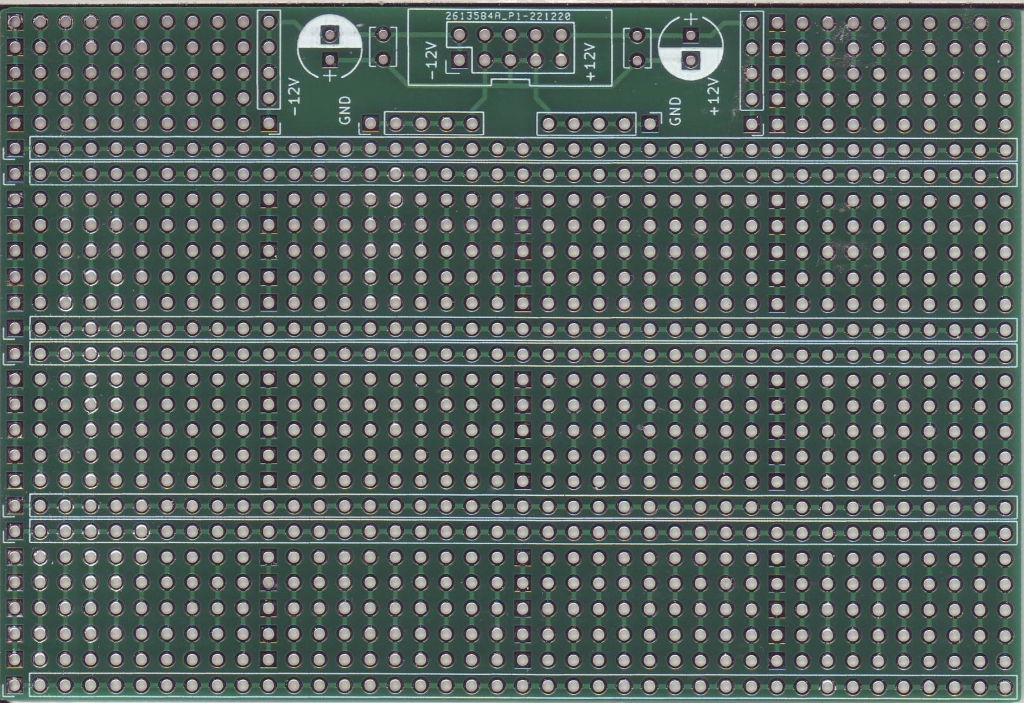
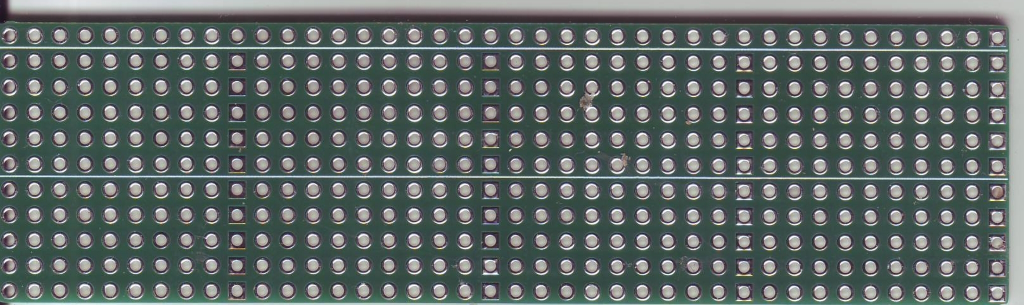
 | Back side of large board. |
 | Back side of small board. ignore the lint on the scanner - I checked, nothing wrong with that board (todo: take a better pic) |
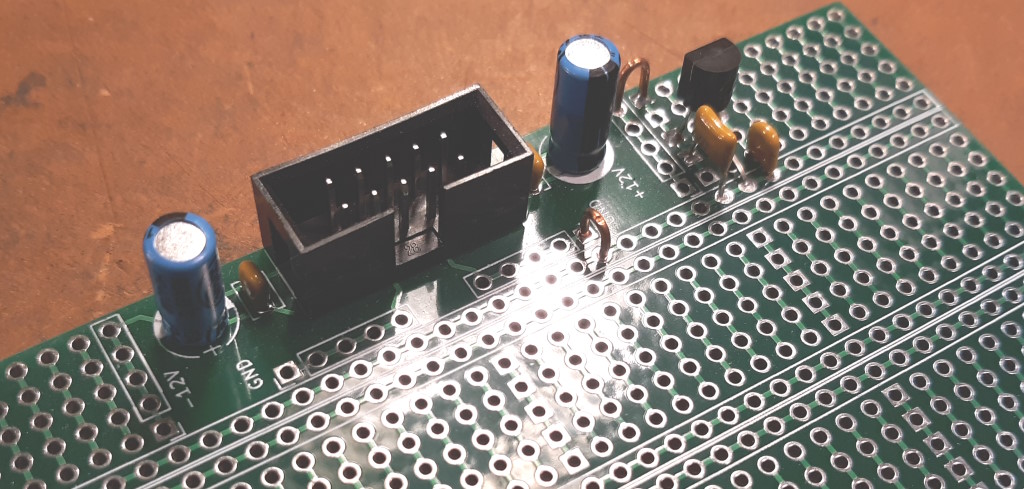 | Example of side area being used for a voltage regulator (in this case to provide 5v).
Simple copper wire to link ground and power (and provide a place for probes to clip). |
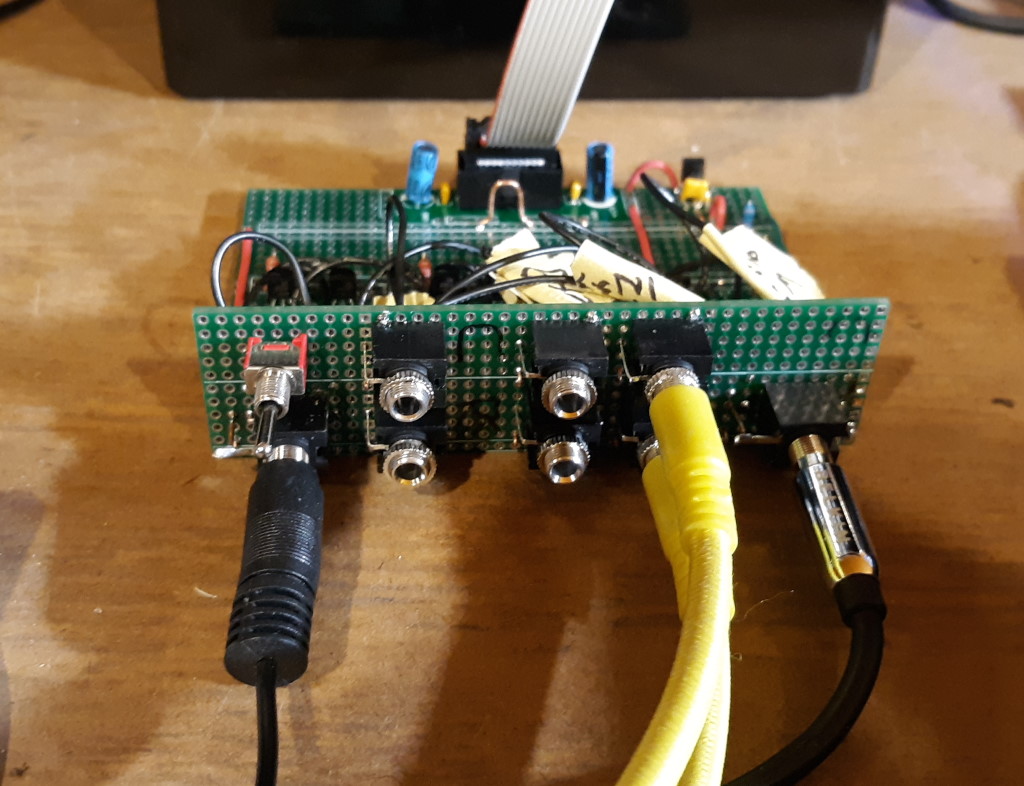 | Example of front board being used for controls. "Thonkiconn" type jacks work well. |
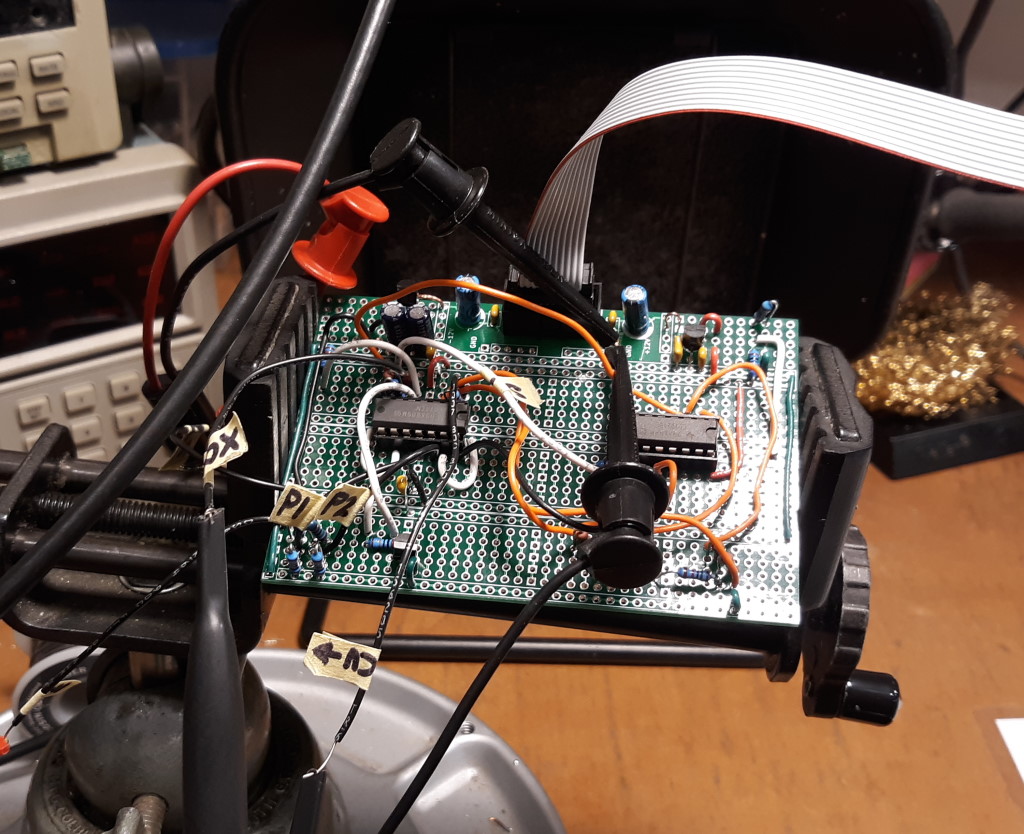 | Development of a module. |
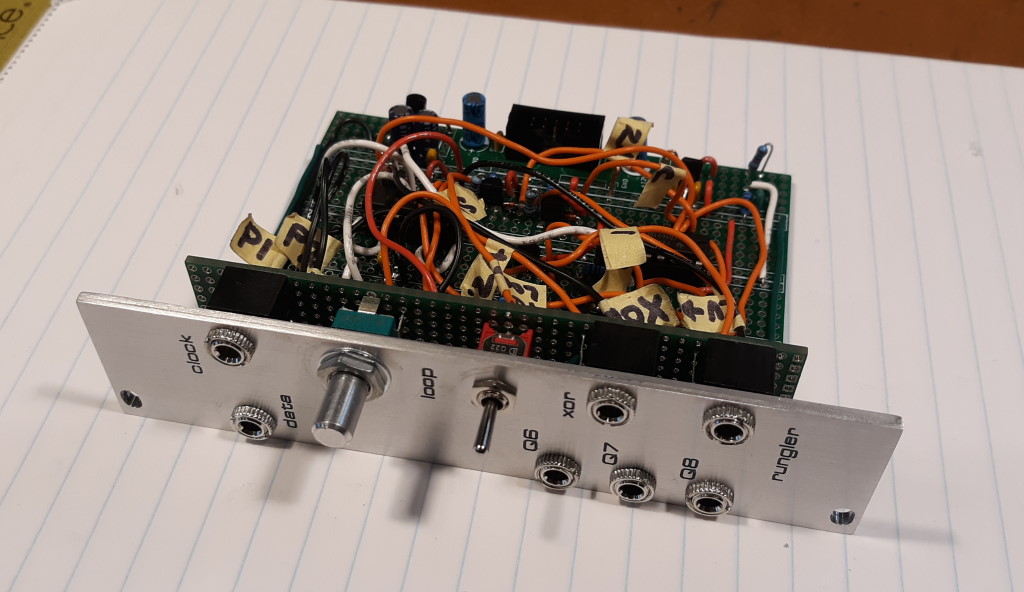 | Finished
module. I CNC mill my own panels (I don't sell panels!) don't overlook
the need to make those as well yourself. Learning is fun! |
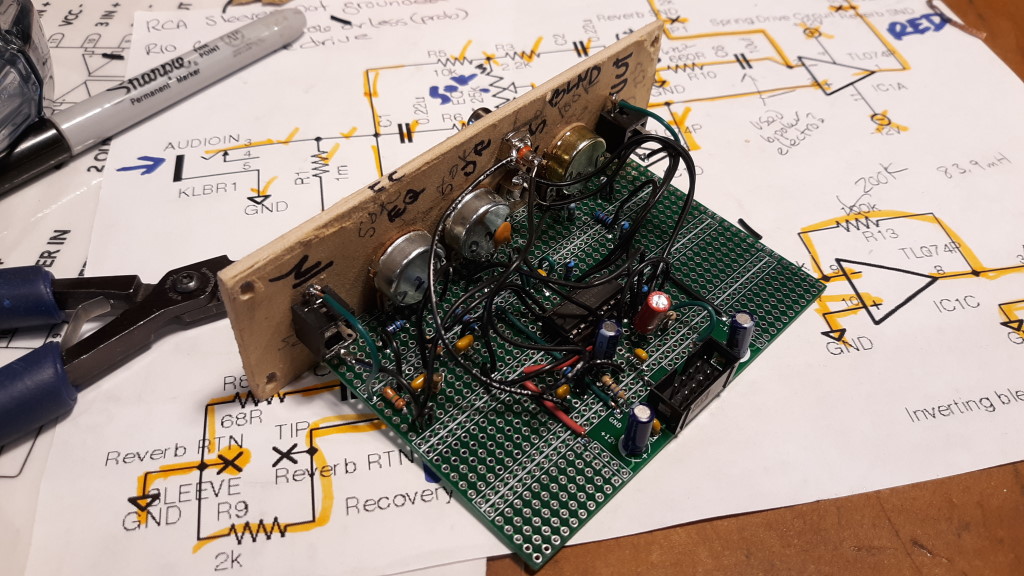 | Another module...note that larger pot(s) can be mounted to the board and support the faceplate (as Michael Barton does on many of his modules, buy his PCBs, they are great!)
The faceplate is fiberboard because it's a reverb module and I needed insulation for the RCA jacks when working on the design... |
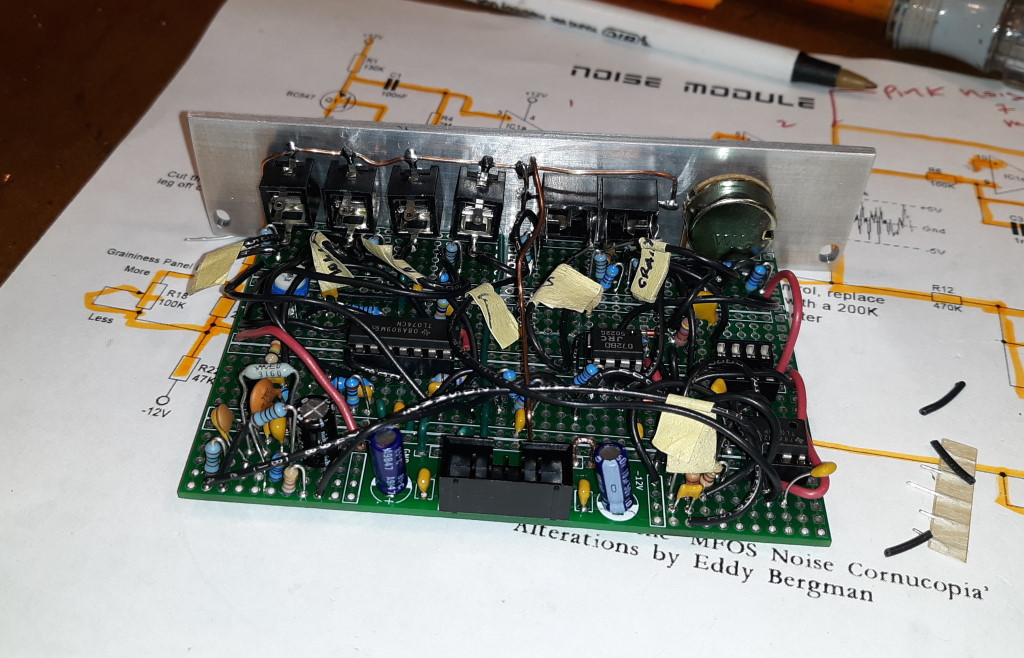 | And another |
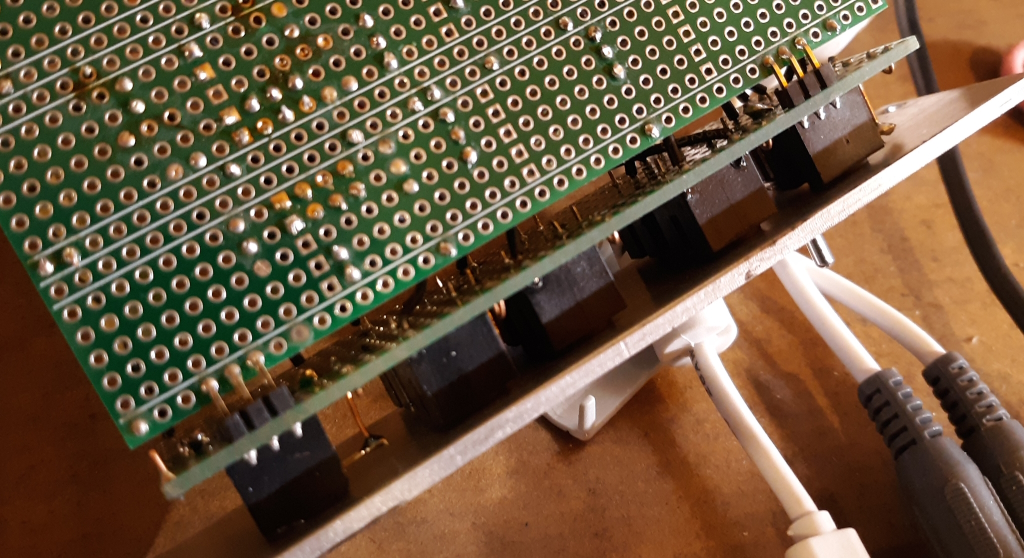 | I
use right angle headers to join the two boards together, usually by the
long strips which I also wire to ground which makes wiring everything
easier. You could also use thicker copper wire. You can fit modules
like this into 6HP but the small boards could be cut in half for
smaller builds. |