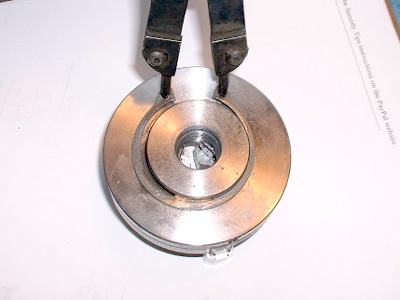
If you are smart you noted which jaw goes in which slot by writing on the chuck and the jaws with a Sharpie or pencil.
If you are stupid like me, you forgot to do this, cleaned out all the chips and are now scratching your head.
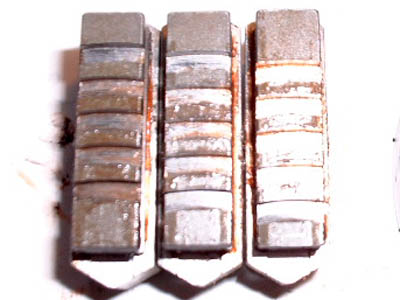
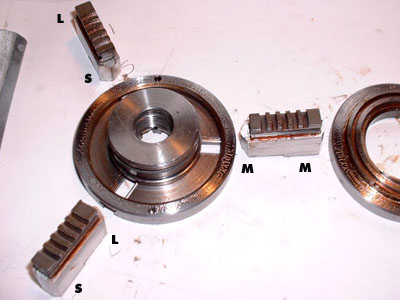
Line the jaws up side by side and examine the teeth. One jaw has a short section on the outer end and a long section on the inner, one has a medium length at both ends, and the last has a long section on the outer end and a short section on the inner.
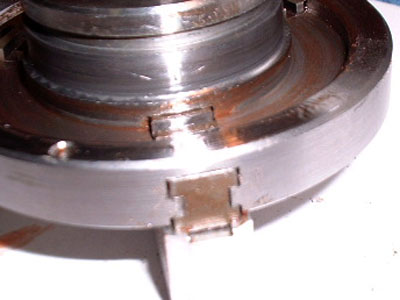
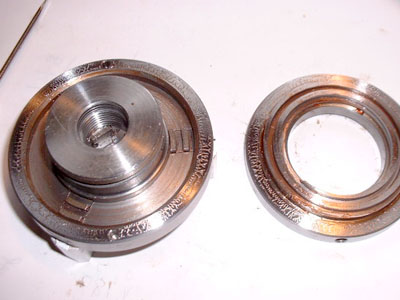
Now take the scroll (the other half of the chuck), insert it down on the chuck body and gently twist it around as it comes into contact with the chuck jaws. It should snap into place. Take care not to move the jaws accidentally out of their flush state. You may have to wiggle and prod it a little but it will eventually line up with the grooves and snap down.
Reinstall the snap ring.
Oh, shoot, you forgot to relube the chuck? Better take it apart again and give it some lithium grease. Think of it as practice...