

|
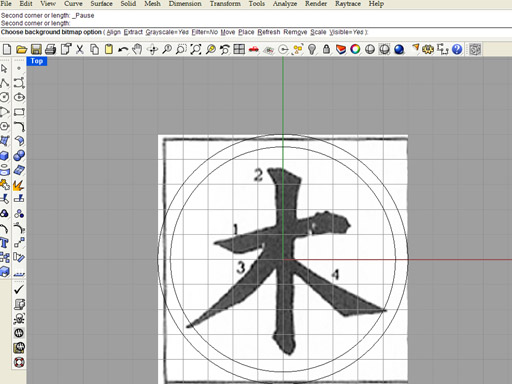
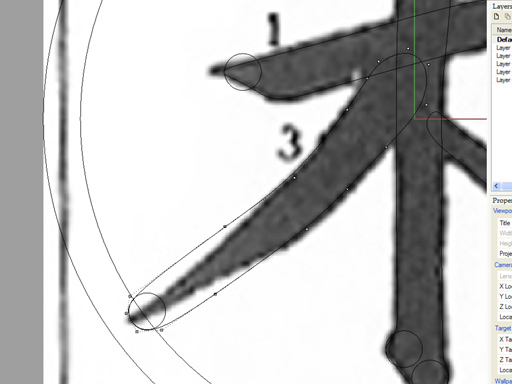
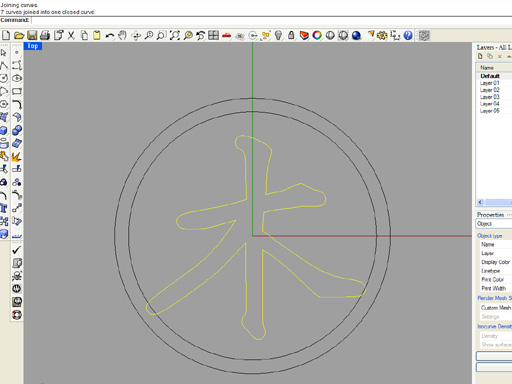
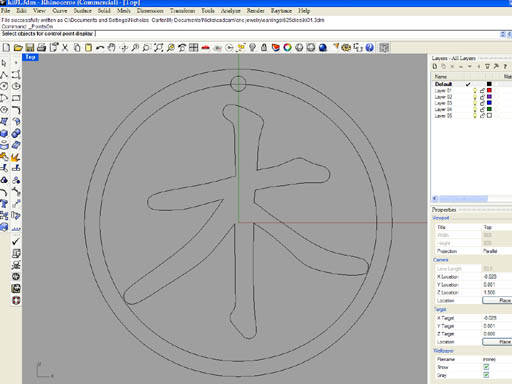
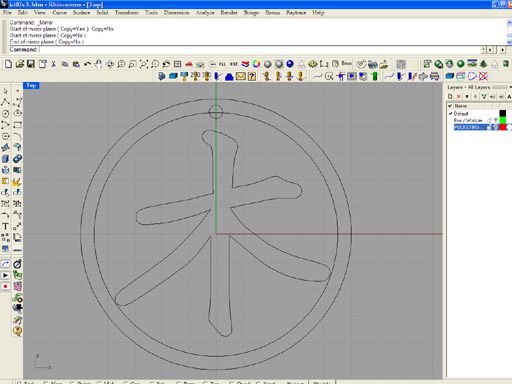
A Scanned in example of Kanji is shown as a background bitmap in Rhino. The outer circle is the size of the earring, 5/8" |
|
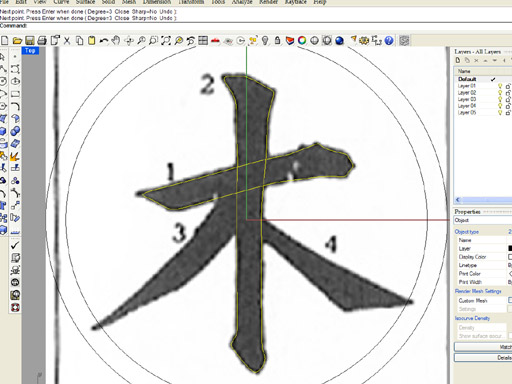
I digitize each stroke in order because I don't want my Sensei to hit me upside the head. I just click around the outline using the Rhino curve command |
|
Number 2 stroke |
|
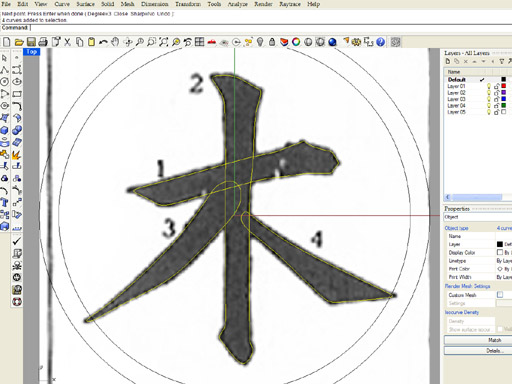
Strokes finished. |
|
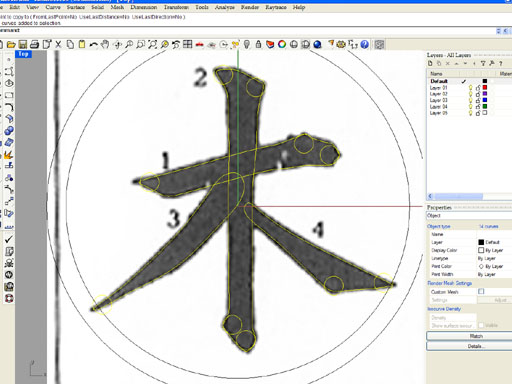
Those circles are the end mill diameter, 1/32". I place them everywhere it looks like the end mill won't fit. |
|
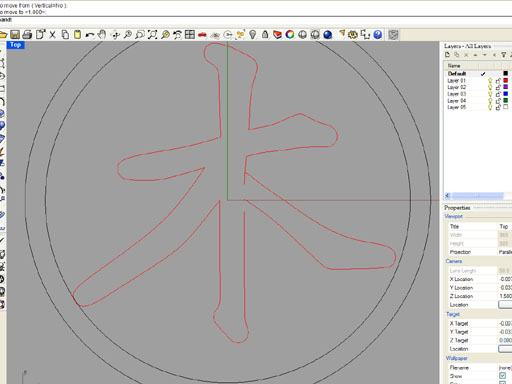
I then turn on the control points for the curve and edit so that the end mill can mill the stroke. Obviously the smaller the end mill, the better detail and fidelity to the original brush stroke. But it's all a bunch of trade-offs. |
|
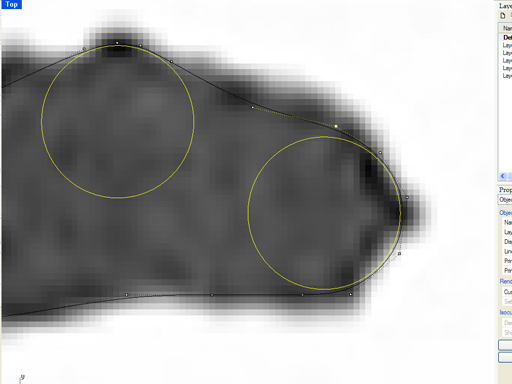
A close up showing how the curve hugs the circle radii. |
|
Besides the corners, make sure the width of the stroke can accept the end mill. |
|
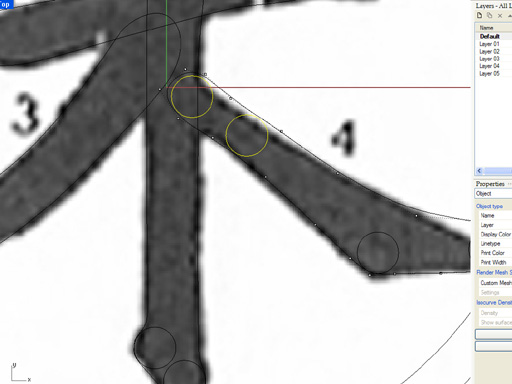
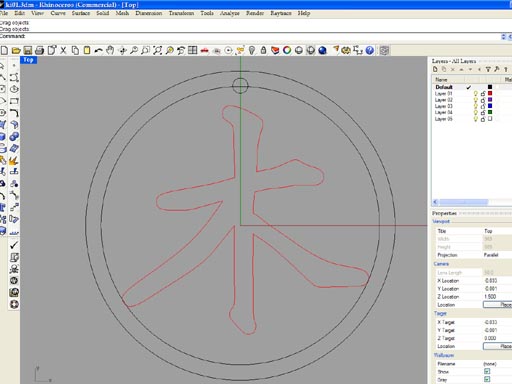
The background bitmap is hidden. |
|
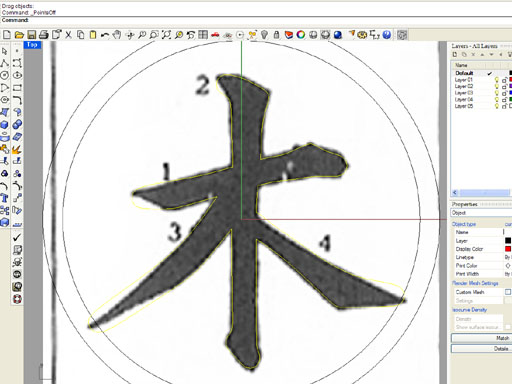
The curves are all trimmed to one another and a closed curve is generated. |
|
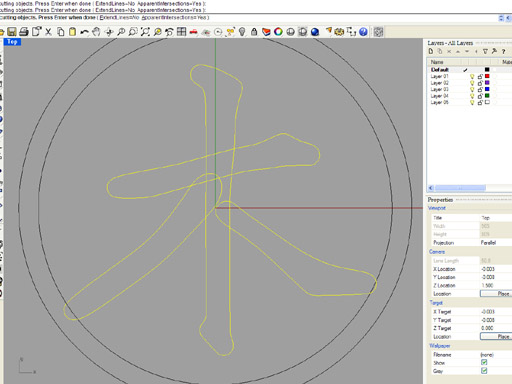
Showing the bitmap again we can see the diference. |
|
I place a small circle where the hole for the ear wire goes. |
|
I don't like how it looks so I tweak things after exploding. This is calligraphy with an odd pen after all. |
|
This looks ok. |
|
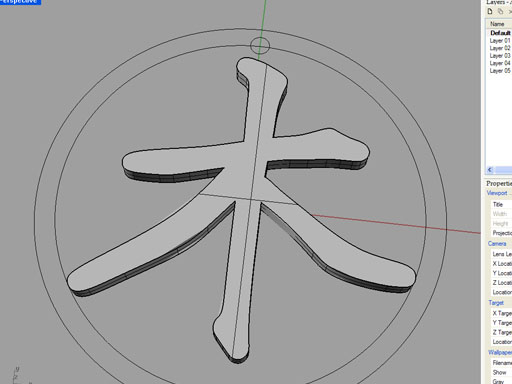
I extrude the curve just to see how it looks in 3D. |
|
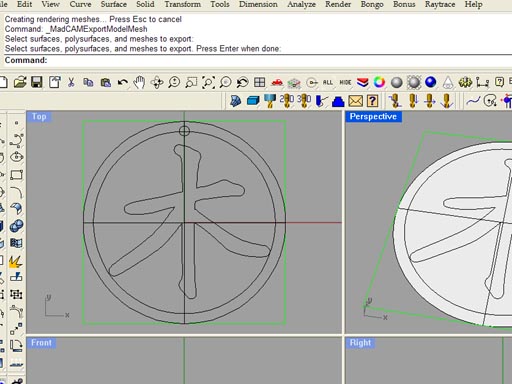
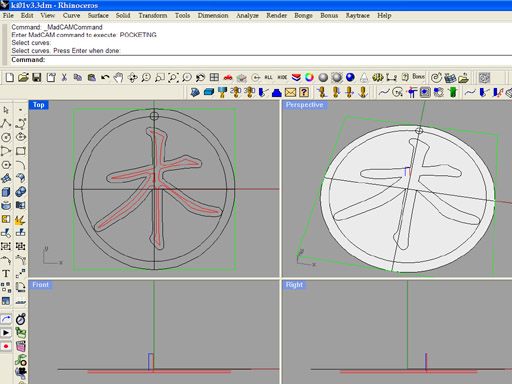
I create a circular surface of the earring diameter and select it for MadCam. |
|
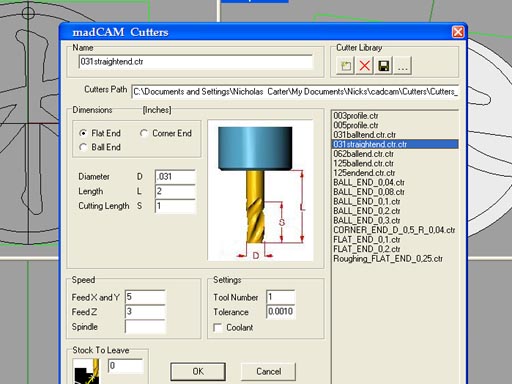
I choose a 1/32" end mill |
|
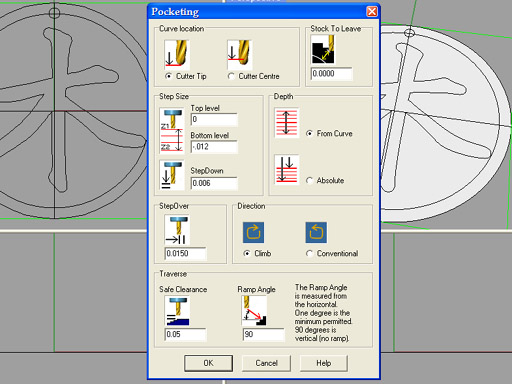
I hit the 2 axis pocket button and select stepover and step down, as well as ramp angle. |
|
The pocketing toolpath is generated. |
|
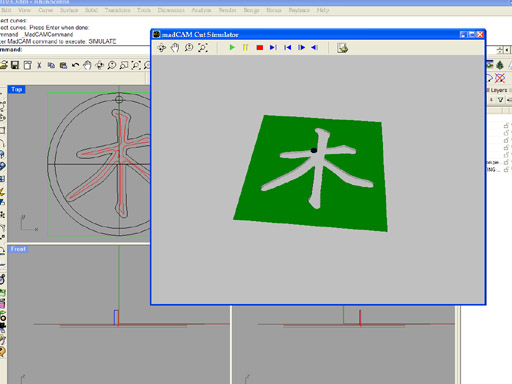
I run the MadCam simulator. |
|
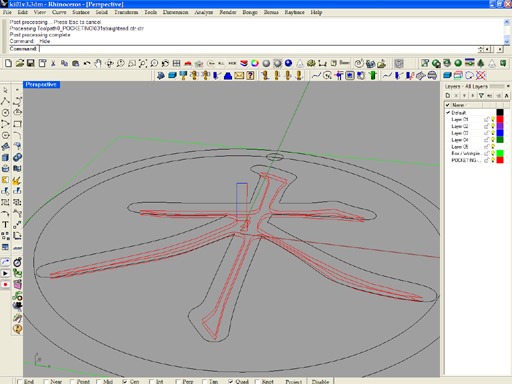
Here's a 3D view of the toolpath. |
|
At this point you remember you are cutting a die and the image will be reversed. |
|
So you mirror the curves with "Copy=No" |
|
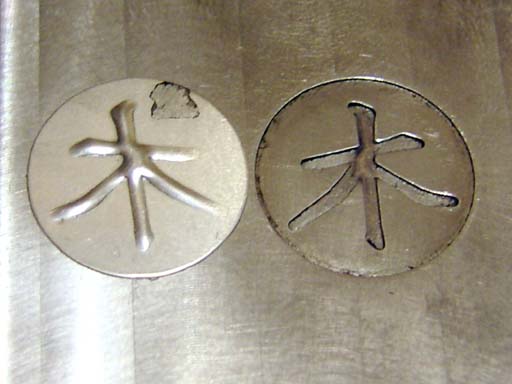
But I didn't remember to mirror the curves, so here's a bad die and earring...totaly backwards. But I didn't like the final form either so... |
|
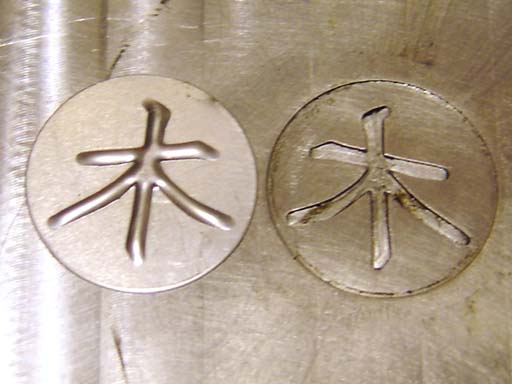
I tweaked the curves some more, regenerated the toolpath and milled another die. Now the earrings are on Etsy. |
Back to cartertools.com