Some Notes on The Taig Toolbit Set

Here are some pictures and notes showing the Taig Toolbit set and use. Let me know if this helps and if you would like anything clarified further.

The Taig Toolbit set

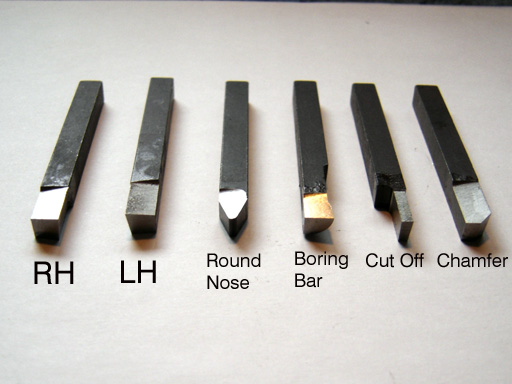
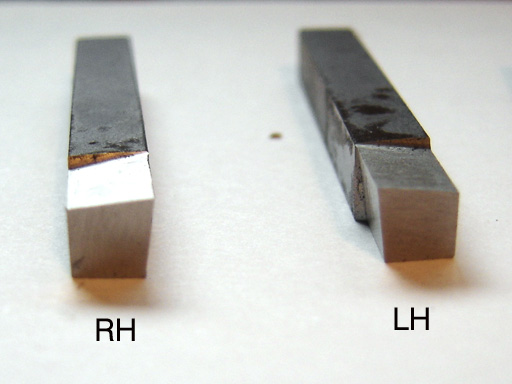
RH and LH toolbits. Right hand means that as you look at the front of the toolbit the cutting edge is to the right.

The Taig RH and LH toolbits are actually ground the same, the top and side rake angles are identical and you can use the RH bit as a LH bit by rotating it 90 deg to the left.


Turning with the RH toolbit, from the right to the left.
Using the round nose toolbit, notice the finer finish. The Round nose is excellent for a good finish but does not allow getting into a corner.
The LH toolbit, cutting from L to R to make a shoulder (I used the parting tool to make a groove that allowed the LH toolbit access to that side of the work)
The chamfer toolbit putting a chamfer on the work. You can also just angle one of the other toolbits to do the same thing.

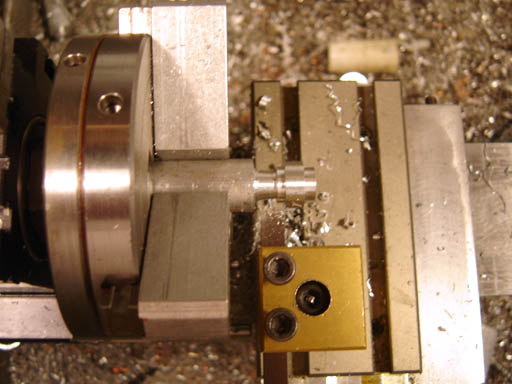
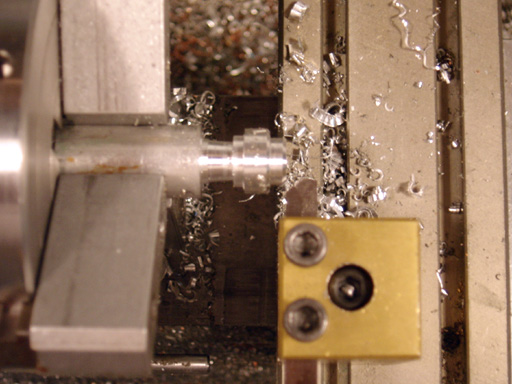
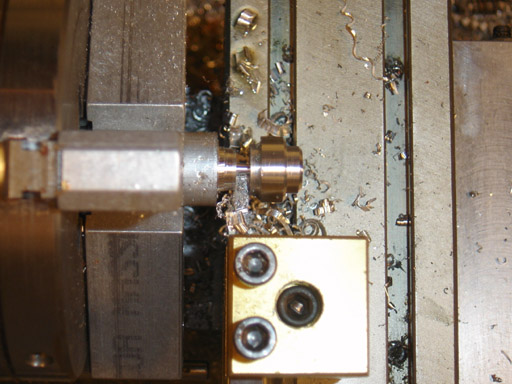
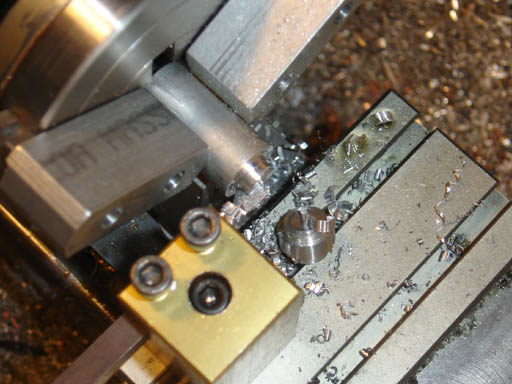
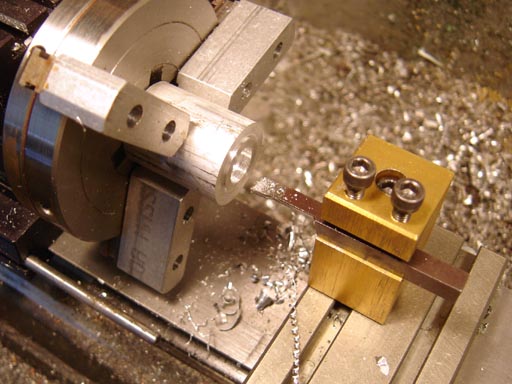
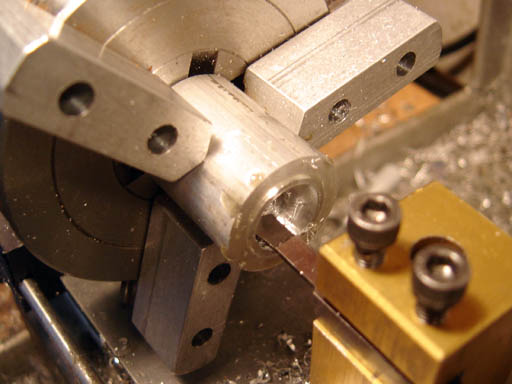
Parting with the parting toolbit. Use an agressive feed and cutting oil.

The dedicated back parting tool/toolpost is a better method.

The work cut off.
You can face with the round nose bit.
You can face and cut a shoulder on the face with the LH toolbit.
Center drilling for a hole.
Drilling a pilot/clearance hole for a boring operation with the boring bar.
Beginning to bore. Make sure the pilot hole allows clearance for the side and bottom of the boring tool (no rubbing which can screw things up)
A large hole bored - this is often better than trying to use a large drill bit on the Taig.
Cutting off a ring that was bored and turned.
The cut off ring.

Back to Cartertools.com