 |
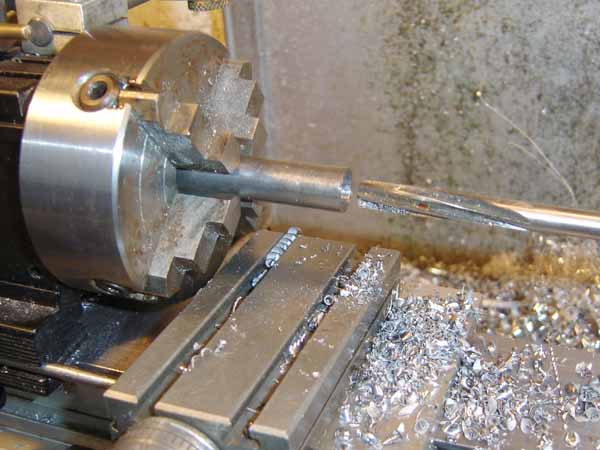
Chuck up a length of 1/2" rod, center drill, drill and
ream for a sliding fit on the arbor spigot. I used a .3135" reamer
to get a good sliding fit. You could also bore it to size if you don't have
an oversize reamer, or you could turn the spigot .001" undersize. Up
to you. |
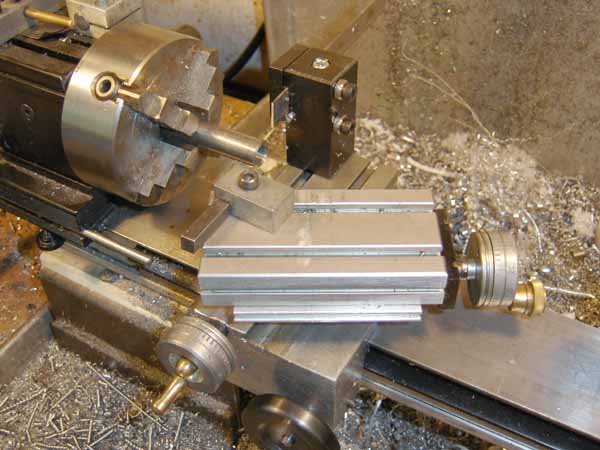 |
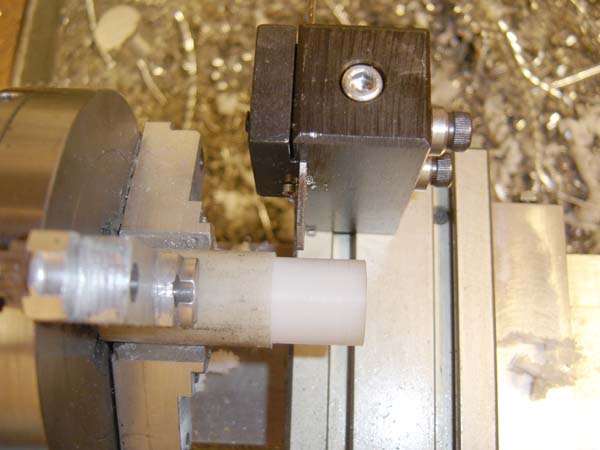
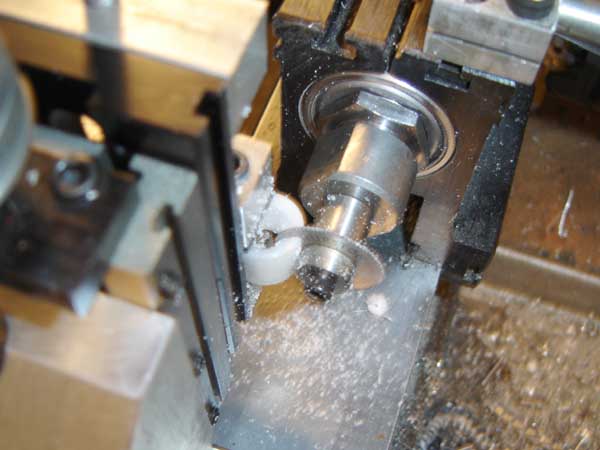
The compound is set to turn the taper and the back parting
toolpost is set to the rear. If you don't have the parting toolpost you
will have to turn one washer, part or saw off, then set the compound again
and repeat. |
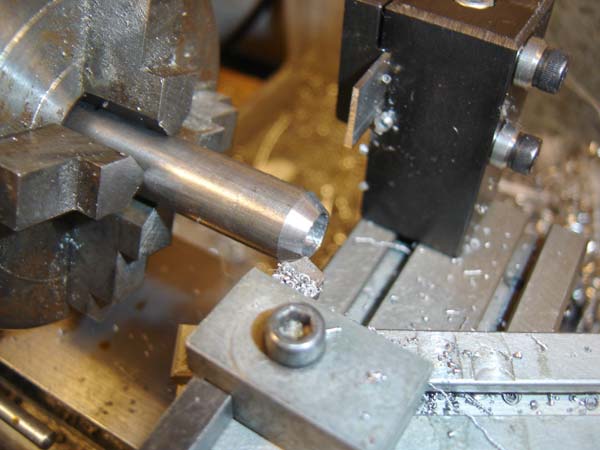 |
Turning the conical washer.
You can make the taper to match whatever countersink you have on hand,
82 degree, 90 degree, whatever is easiest and you have on hand.
|
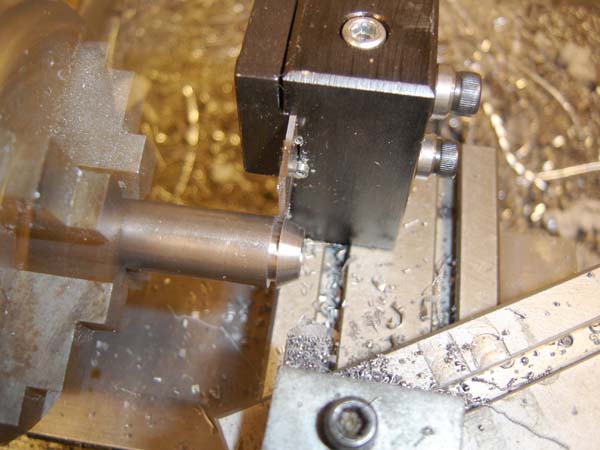 |
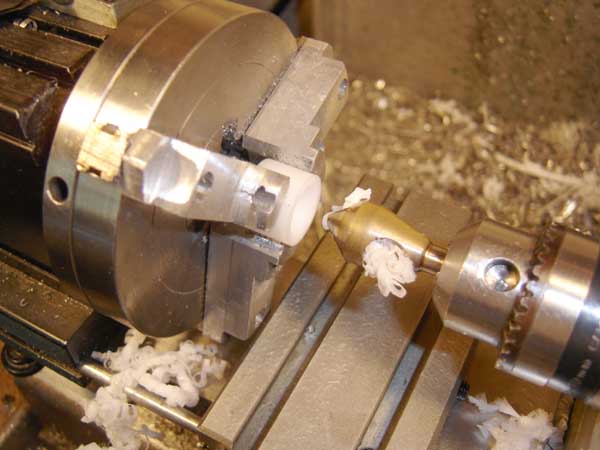
Parting off the washer |
 |
The washer drops off. Make two of these and deburr. |
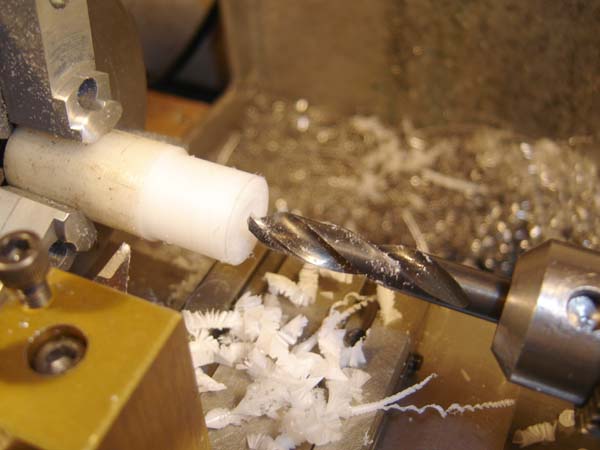 |
Turn the arbor to the desired diameter, in this case I turned
it to hold a U.S. size 7 ring. Center drill and drill the expanding arbor,
it should be a slip to loose fit on the spigot. |
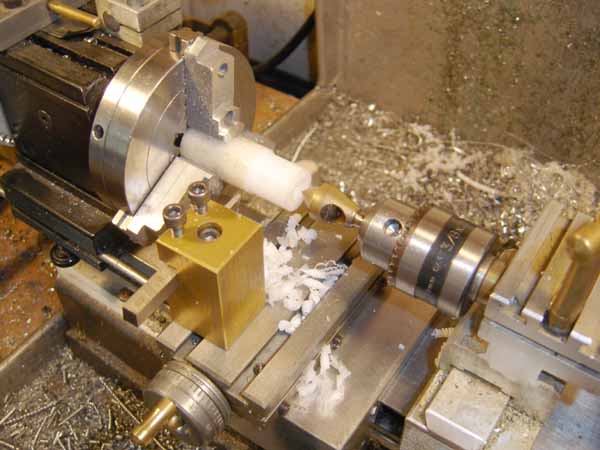 |
Use a 60 degree countersink to make the tapered hole. As I
say above, if you have a different countersink on hand, make the tapered
washers to suit that angle. |
 |
Use the completed arbor and a washer as a gage to see how
deep you have to make the countersink. You can just eyeball this. |
 |
Cut the expanding arbor off, to length. |
 |
Rechuck and put the other countersink in.
As an alternative method, you can drill, counterbore and cut off the
blank first, then chuck it up in the arbor and turn the outer diameter
before slitting. This may give more precise results.
|
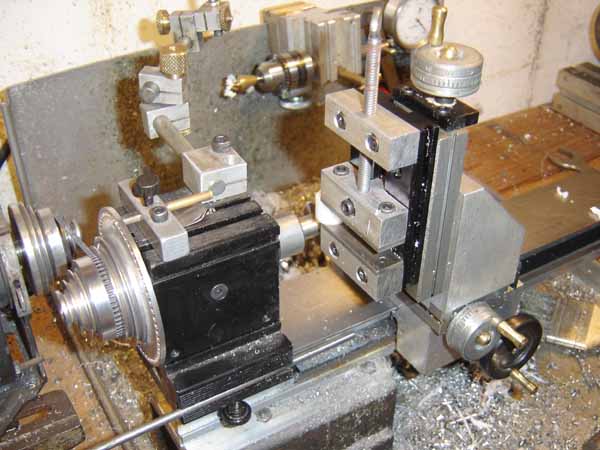 |
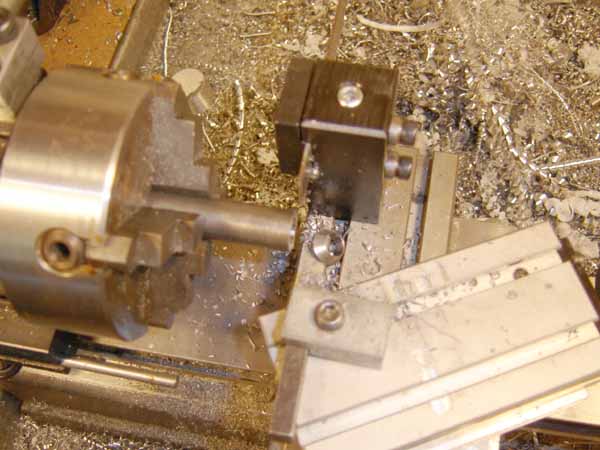
A convoluted milling attachment setup for putting the slit
in the expanding arbor. You can just saw it with a hacksaw, jewelers saw
or whatever is easiest. It isn't critical. |
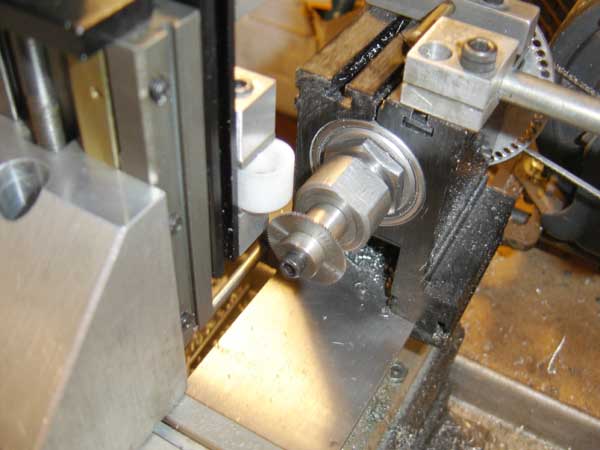 |
Another view of the setup. |
 |
Sawing the slit. |
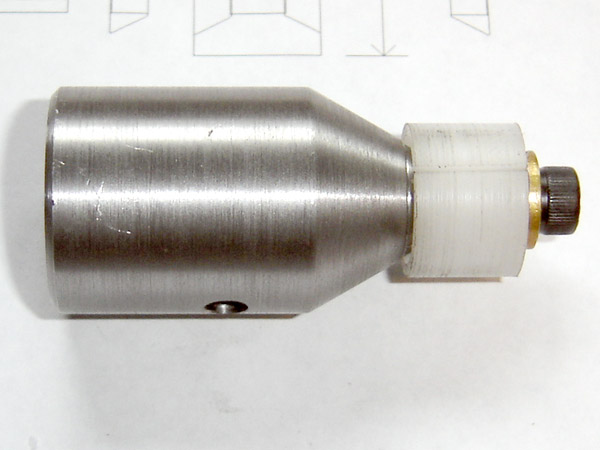 |
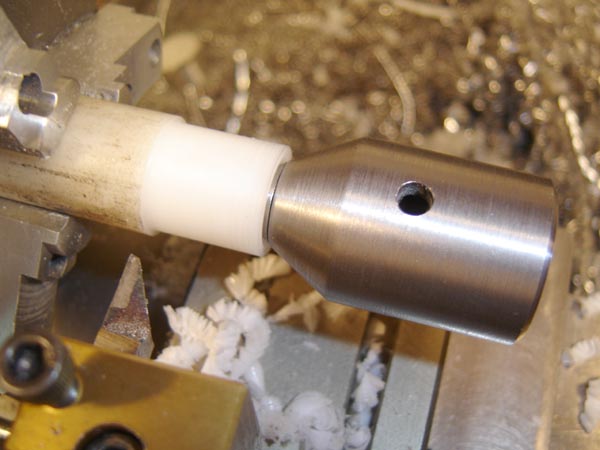
The completed universal expanding ring mandrel. I added a washer and
a #10-32 screw to complete the mandrel.
You can make slit expanding arbors for any size ring, and machine steps,
grooves, etc to suit your work.
|
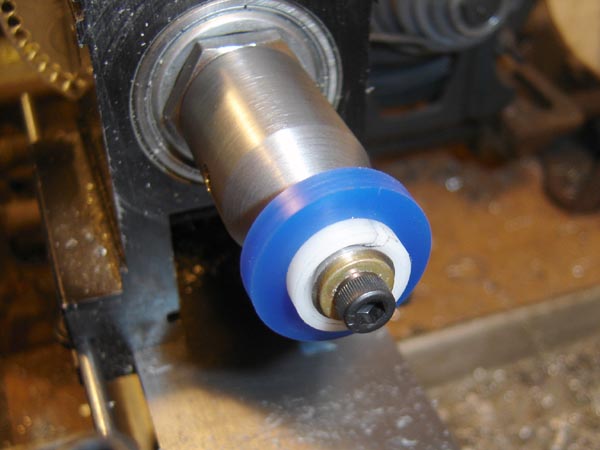 |
A blank ring chucked up. |
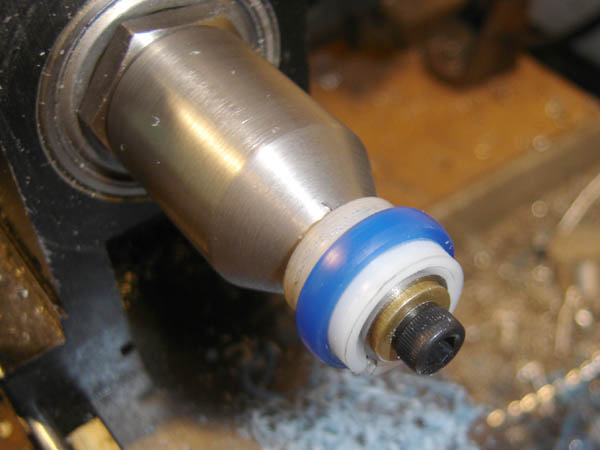 |
Turned down. (Tip: I used a machinists radius gage to form
the profile in the wax, just holding it by hand) |