The controller that Taig sells for their CNC Milling Machine now allows step and direction input for control from programs such as Mach2/3, but older controls do not. You can send the control back to Taig and they will upgrade it for you, or buy an upgrade board from them, but there is another option that is available, Peter Homann's TurboTaig board. Peter sent me one to upgrade my older controller and here is how the process went. The advantage of the TurboTaig is that it also has many inputs and output available for mounting of home and limit switches, spindle speed sensors, relay control, etc. I haven't embarked upon any of those projects yet, but I did get my old control running with Mach3, and have done some fun milling jobs (see theparts here) to test the control out. The first test was 150,000 lines of code and the upgraded control ran for 4 hours without a hitch.
Installation went very smoothly and I was up and running in about an hour. Peter sells the board bundled with a Mach 2/3 license, which is quite a good deal. If you have an older controller and would like to run it with step & direction, I think that this board is an extremely versatile and easy way to upgrade.
|
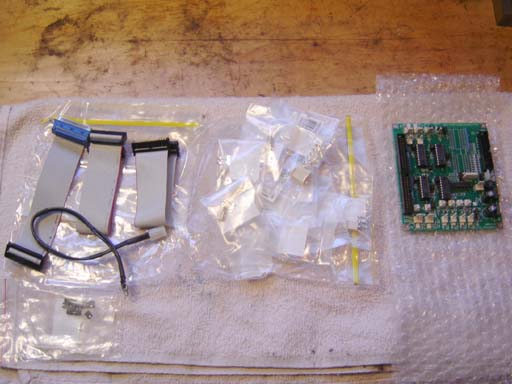
All the hardware that comes with the board. The center bag is full of jumpers for hooking up the various relay functions that I haven't used yet. To install all you need are some screws, a drill and a tap. |
|
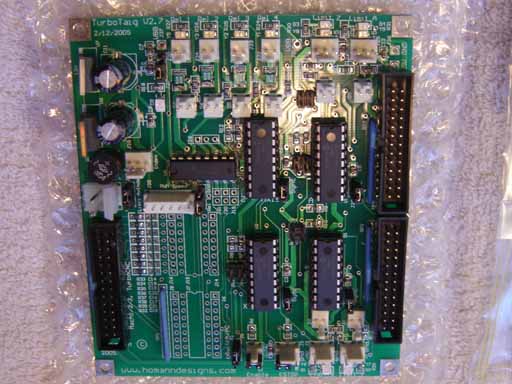
The TurboTaig board. |
|
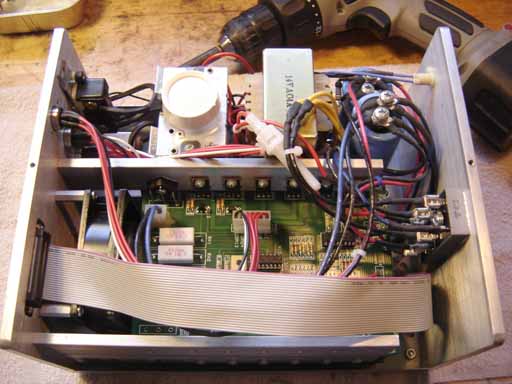
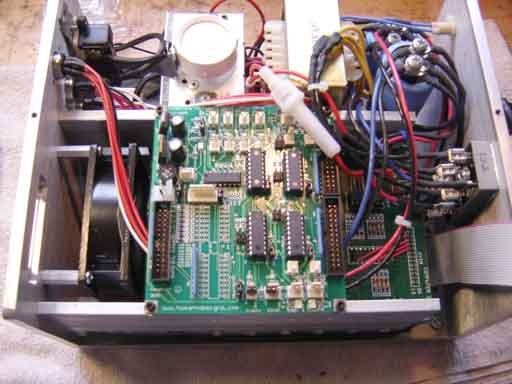
My old (very old, one of the first made) Taig controller, opened up for the operation. Projects like this make me a bit nervous as I am definitely not electronically competent. |
|
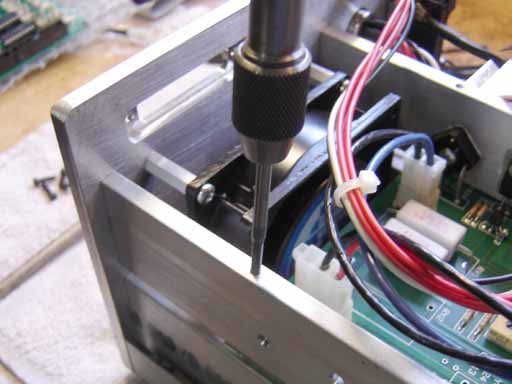
Form tapping the holes that I drilled in the heatsink to mount the board. I did get chips inside from the tap drilling until I realized I should hold a vacuum cleaner nozzle near the drill tip. I blew out all the chips that did sneak in with air afterwards. |
|
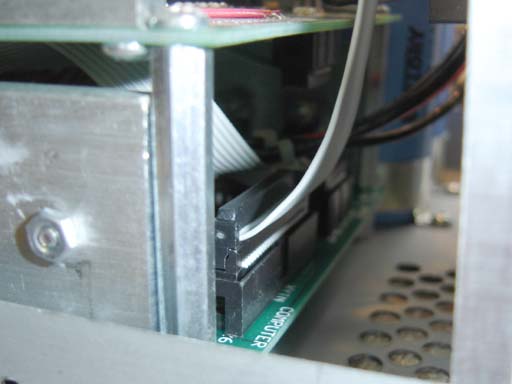
The TurboTaig board mounted. It was a bit tight but it fit fine. |
|
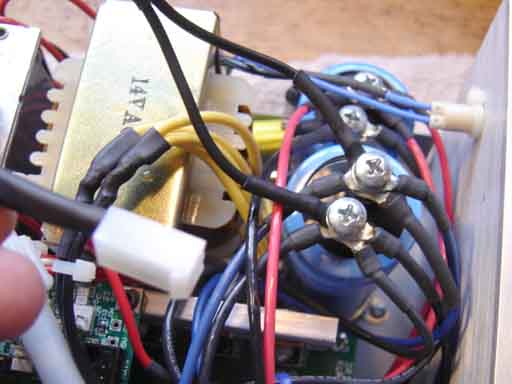
Power connector (white thingy on the left), other ends hooked up to the larger of the two capacitors. |
|
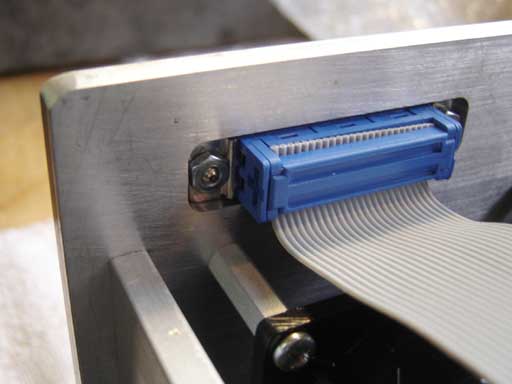
New parallel port connector and cable mounted. |
|
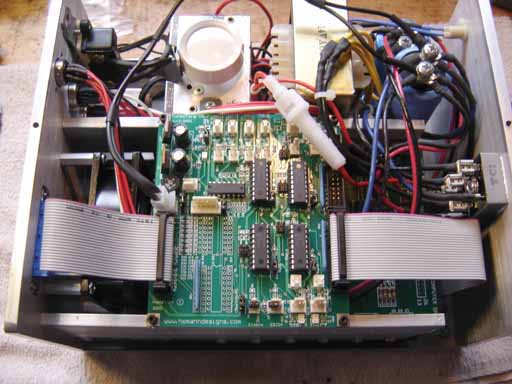
Finished installation. |
|
How the old control board is connected to the TurboTaig - this connector previously went straight to the parallel port connector. |
Back to Cartertools.com