For the past few months I have been playing with various methods for producing jewelry with my Taig CNC milling machine. Felice and I have been making jewelry for 20 years, but I haven't worked at it much since the kids came along. This changed when we started our store on Etsy.com, which allowed us to show pieces that were a bit unusual (geeky) which wouldn't ordinarily sell in our usual venues. I have achieved a small measure of success (that is, I have sold them!) with the designs shown in this article.
Often jewelers will buy a CNC milling machine for one purpose, to make waxes used in investment casting. I think that in order to innovate or just to use a machine that may lay idle between custom waxes, a jeweler needs to look at tools not for what they know they can do or what they bought them specifically for, but what they might be able to do. So, in the spirit of thinking outside the box I embarked on the series of experiments shown here.
Part 1: Milling Jewelry
Part 2: Engraving Jewelry
Part 3: Milling Dies for Hydraulic Die Forming
|
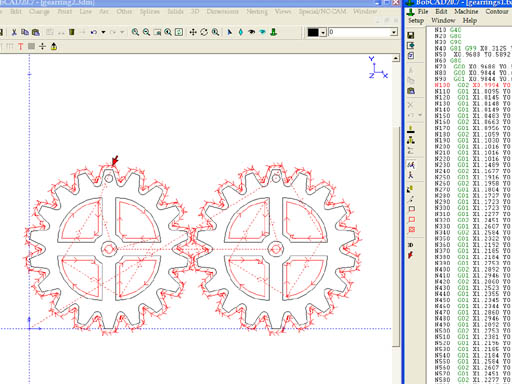
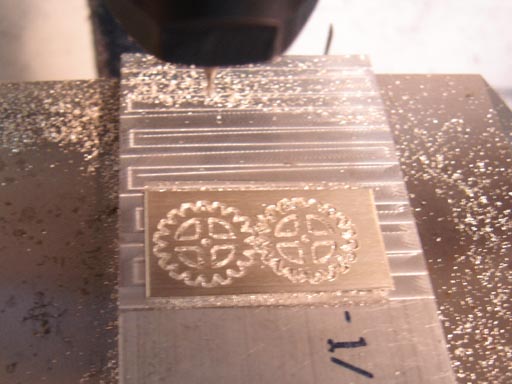
The drawing and toolpaths for a pair of earrings in the shape of gears. I find it easier to mill a pair at a time (sometimes more) rather than one at a time. When designing the earrings always bear in mind the smallest tool you will be using and make sure that it can mill all the parts of the earring. In this case the end mill is 1/32" in diameter so all fillets and cutouts are sized to accept that tool. |
|
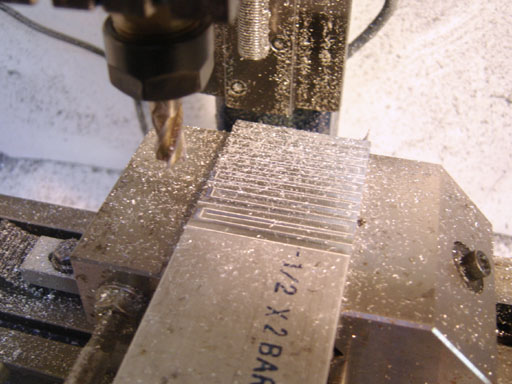
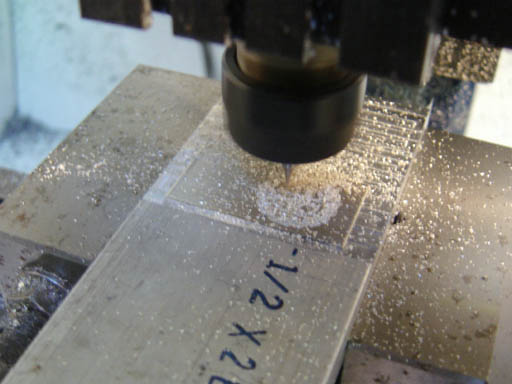
A piece of aluminum held in the vise on the milling machine. It is surfaced flat with a large end mill. |
|
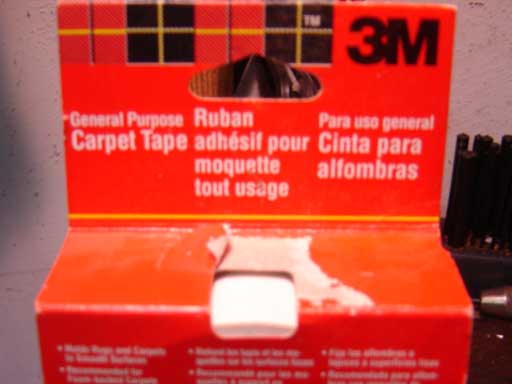
3M carpet tape. This is the type that is just adhesive on both sides of a thin film, rather than the spongy type. |
|
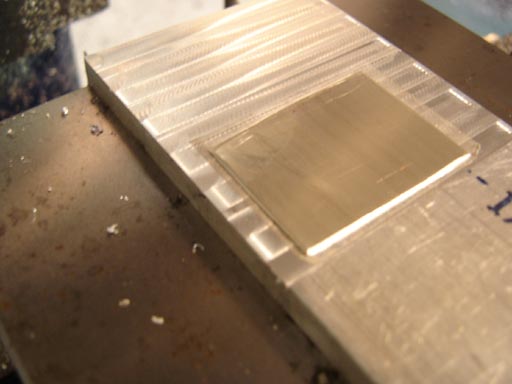
The aluminum surface and the silver (24. gauge) are both cleaned and using the carpet tape the silver is adhered to the aluminum. |
|
Milling the earrings. This is done dry, as coolant will cause the tape to come loose. Some materials need coolant, so you will have to use clamps or other fixturing. I use a rather conservative feed of 3 ipm at 10k rpm, as I really don't want to break end mills. With end mills this size, you pretty much have to experiment to get the proper speeds and feeds, so YMMV. |
|
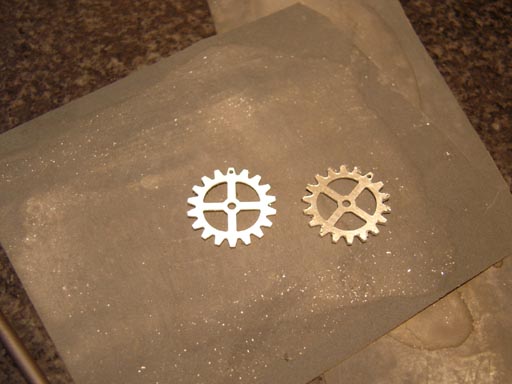
The earrings, still adhered to the aluminum block. I then spray with some WD40 or other solvent to free the earrings. |
|
Deburring and polishing with some 600 grit sandpaper, usually I do this wet against a granite block. Sometimes I put a proper polish on earrings, sometimes a grained finish with various papers or scotchbrite. It all depends on your design. Silver seems to always get a burr as it is so malleable. |
|
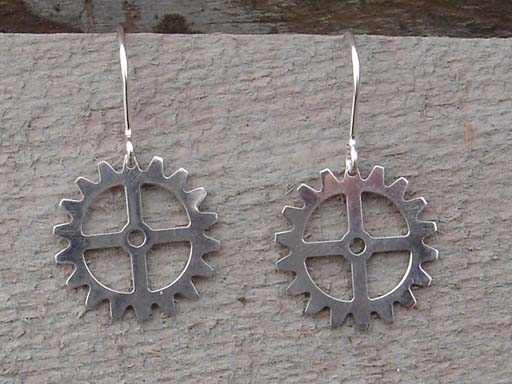
The finished earrings. I have sold several pairs of them. |
Part 1: Milling Jewelry
Part 2: Engraving Jewelry
Part 3: Milling Dies for Hydraulic Die Forming