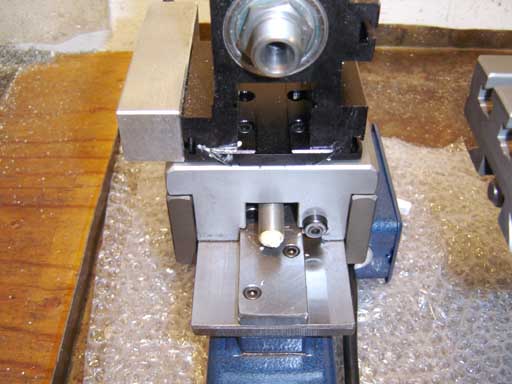
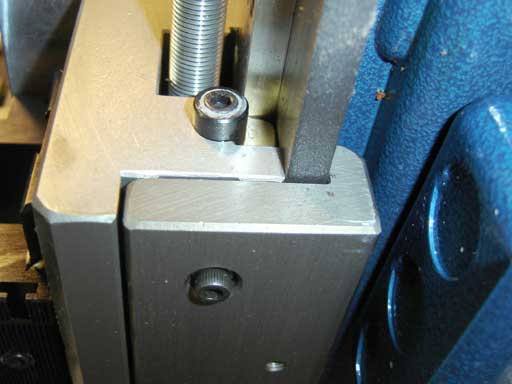
The top z-axis gib screw and part of the motor mount.
The two side screws hold the clamping shoes that retain the z-axis on the slide.

Page 1, Here is page 2
I bought a new Taig CNC mill and took some more pictures as
I was setting it up. You can see the previous setup page here.
If you are new to the world of machine tools, don't go overboard. Just get it
setup and running and worry about adjustments as they arise, while learning
about your machine as you use it.
|
The underside of the mill base. |
|
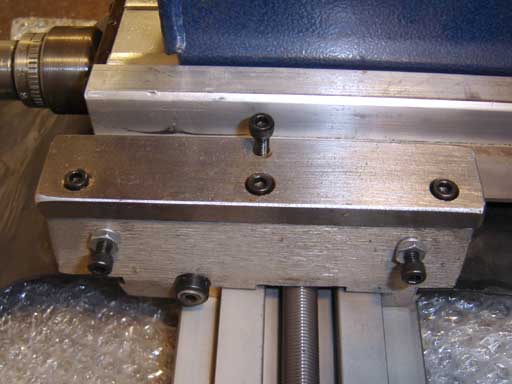
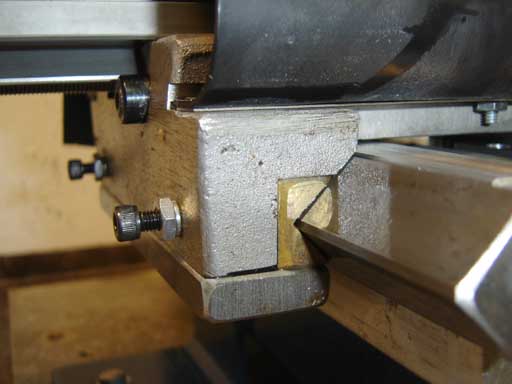
Closeup of the y-axis gib retainer plate. The tall screw locks the gib (never used for CNC). The two side screws adjust the gib and the nuts lock the adjustment. |
|
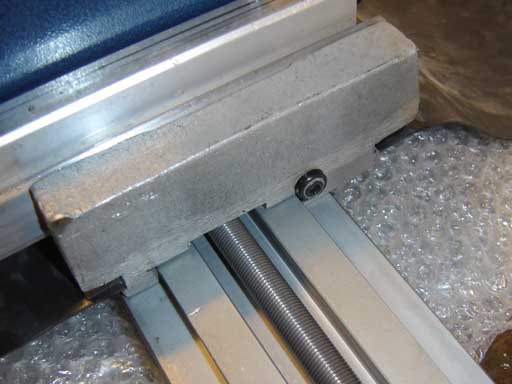
X axis gib screw. |
|
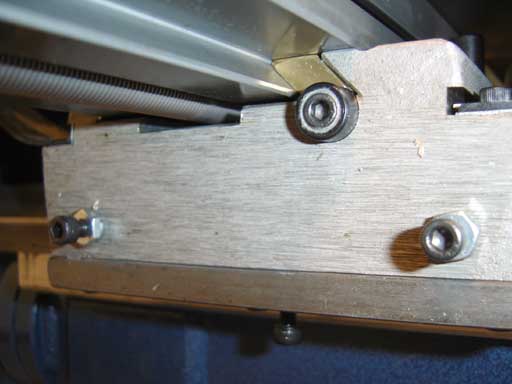
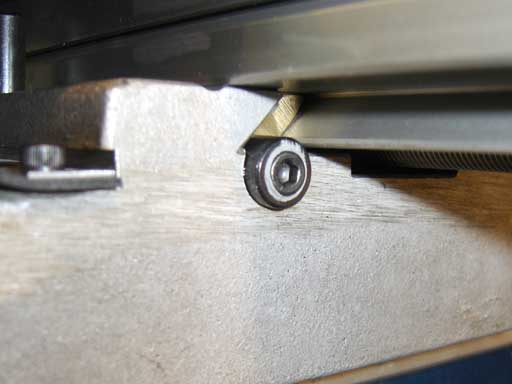
Underside of the y-axis bearing plate. Notice the small roll pin that locks the bearing unit in place on the plate. |
|
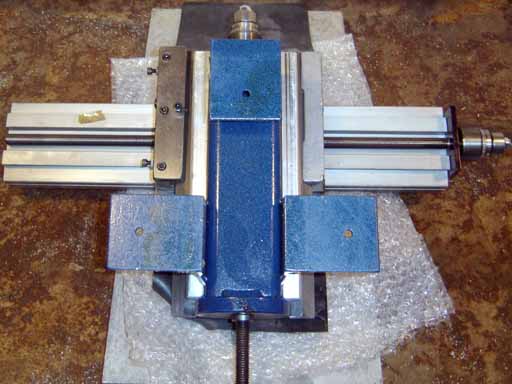
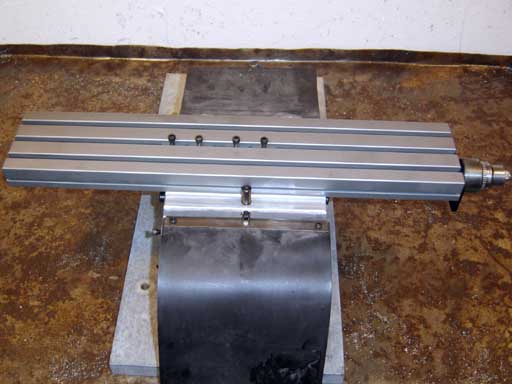
The base unit. Those screws in the table hold the small nuts used to hold the vise. |
|
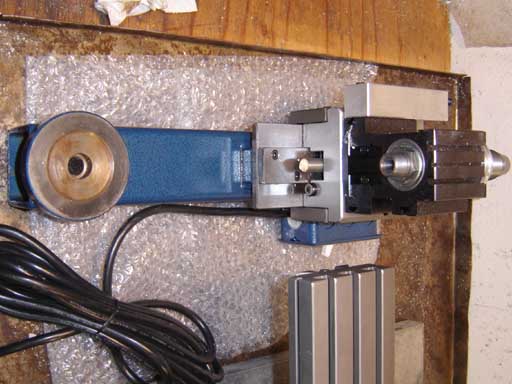
The column unit. |
|
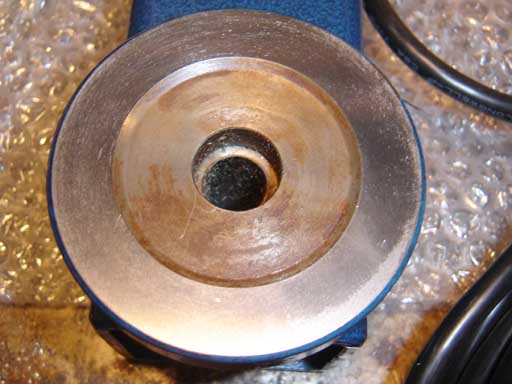
The circular boss that mates with the base unit. Clean the mating surface well before assembling. |
|
You can see the bottom z-axis gib screw here. |
|
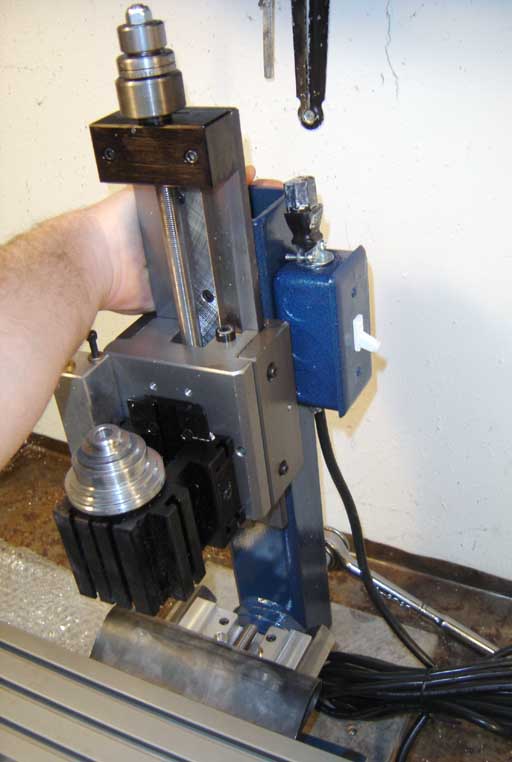
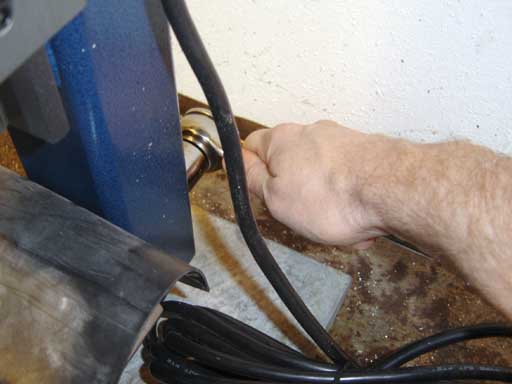
Holding the column up while tightening the nut to fasten the column to the base. |
|
Notice that I have "choked up" on the wrench. You don't want to overtighten the nut. |
|
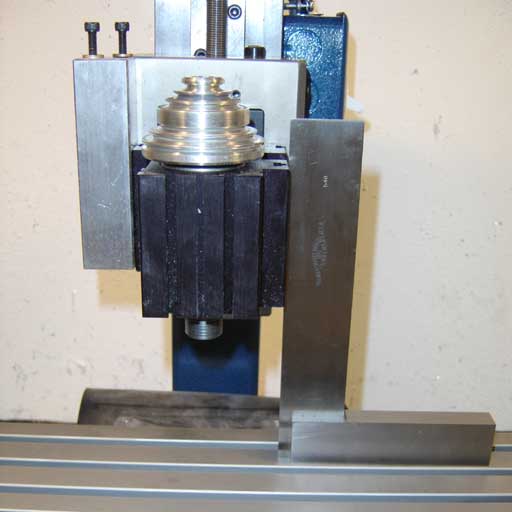
Squaring the column initially using a square against the headstock. |
|
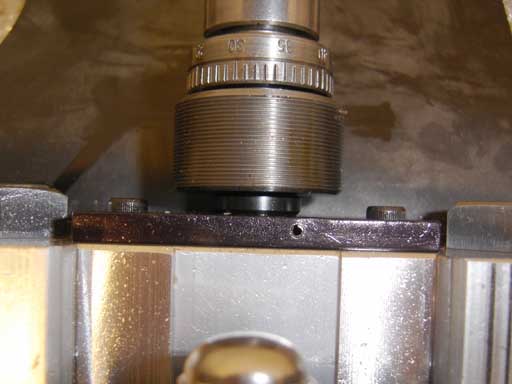
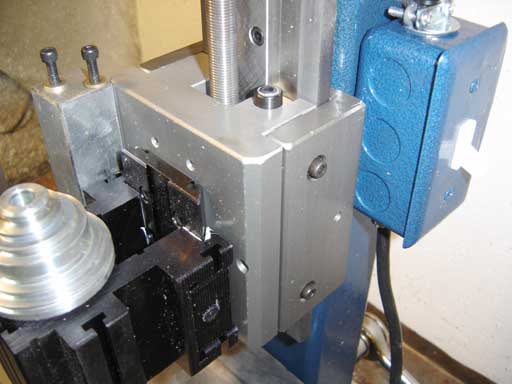
The top z-axis gib screw and part of the motor mount. The two side screws hold the clamping shoes that retain the z-axis on the slide. |
|
The z-axis top gib screw. These screws position the z-axis gib in the same manner as the x-axis tapered gib explained in the first mill setup article. The gib eliminates twist on the central z-axis slide bar. |
|
Adjusting the clamping shoe for the z-axis. The factor recommends that you squeeze it together with hand pressure then tighten the screws, without mounting the motor yet. This is usually fine from the factory so don't worry about it unless you need to. There used to be a screw from the front of the slide for adjustment but the factory found hand pressure was better for thsi adjustment. |
|
The y-axis gib. |
|
X-axis gib, wider end. |
|
X-axis gib narrower end. Both of these screws should be tight once the position of the gib is adjusted. |